How to Use Lookupper on Steam Deck
This guide was written by a community member. If you have additional questions, you can contact the author on Telegram: Andrey Kuznetsov. Sorry that screenshots are in Russian.
This method of using Lookupper on Steam Deck is based on streaming from a home PC using Remote Play and is highly dependent on your network speed. Ideally, it is best to be on the same local network, for example, playing at home over Wi-Fi 5 or higher. In general, any non-”prehistoric” router will work, but older ones may require lowering the streaming quality and/or FPS (Frames Per Second).
1. Linking Steam Link
- Log in to the same Steam account on both your Steam Deck and PC.
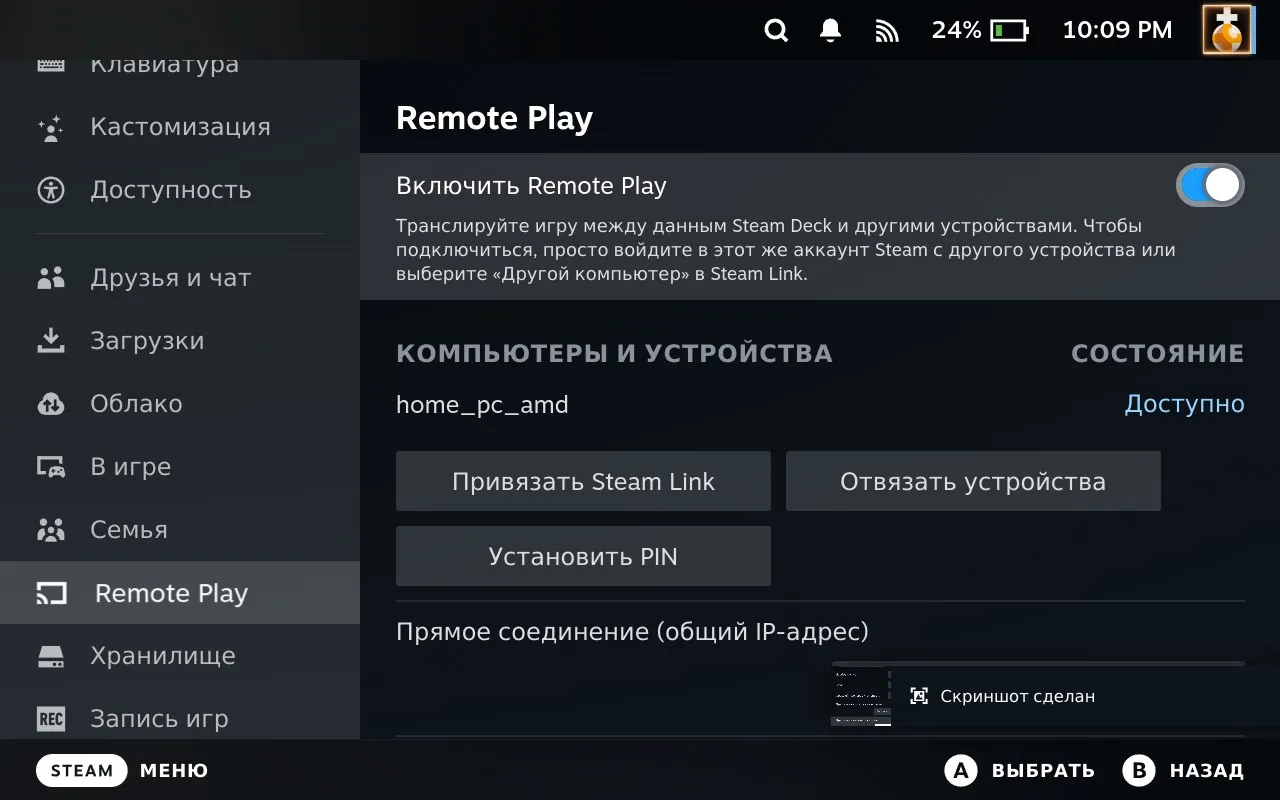
- On the Steam Deck, press the physical STEAM button → Settings.
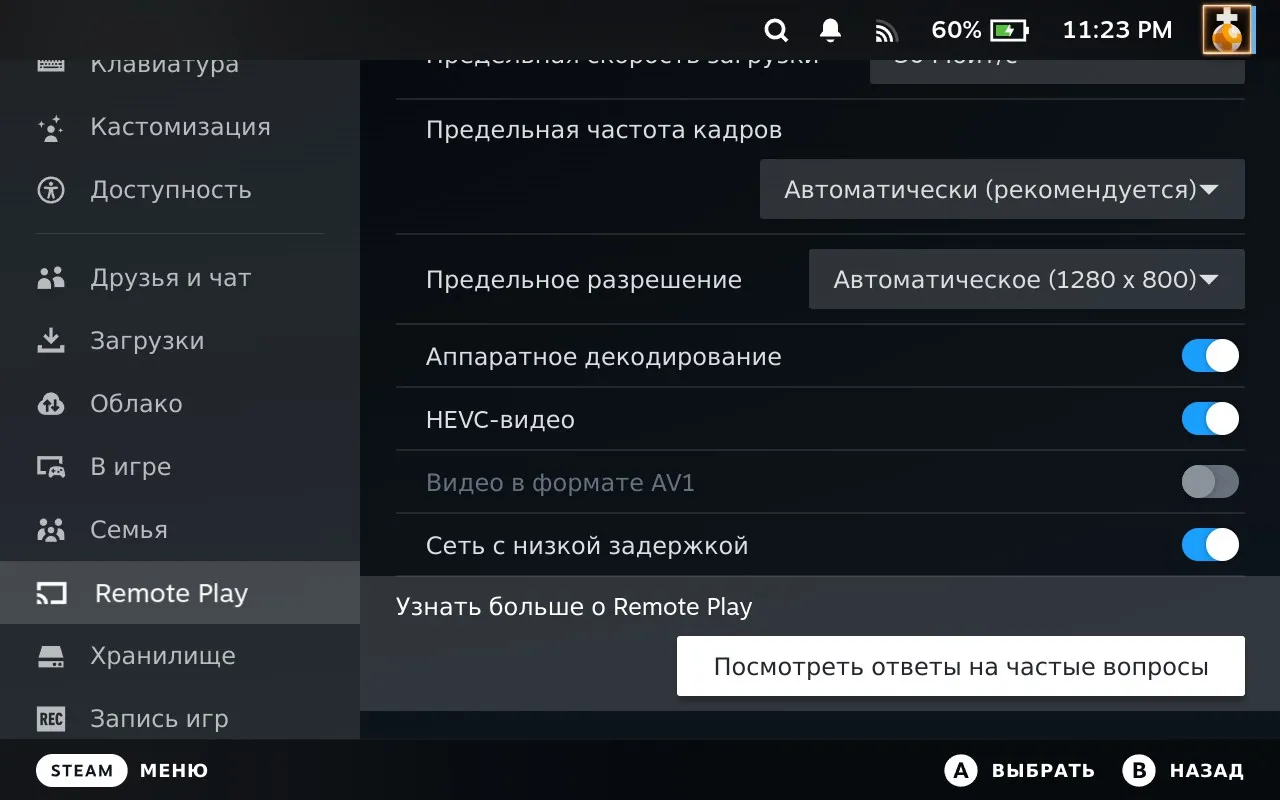
- In the Remote Play tab, enable it and make sure to enable “Hardware Decoding”.
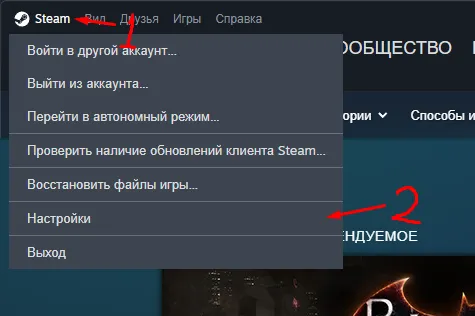
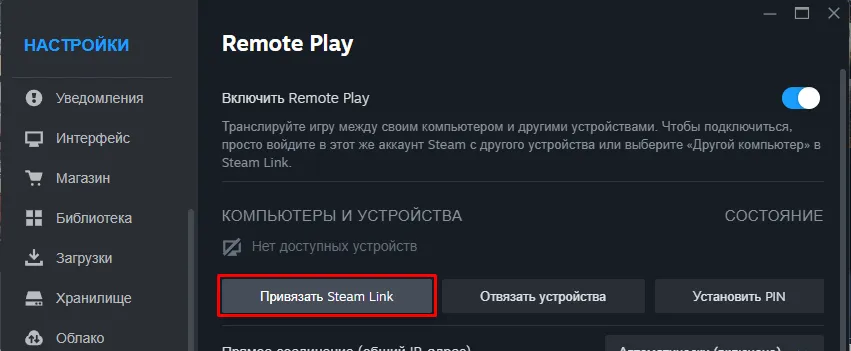
- On the PC, go to Steam → Settings.
- In the Remote Play tab, enable the “Enable Remote Play” toggle. Your Steam Deck should appear in the “Computers and Devices” list.
- In “Advanced Host Options”, make sure to click “Enable hardware encoding”. For NVIDIA graphics cards, “Use NVFBC capture” is also recommended.

Important Note on Linking:
- During the first launch on the Steam Deck, a window with a 4-digit PIN code may appear.
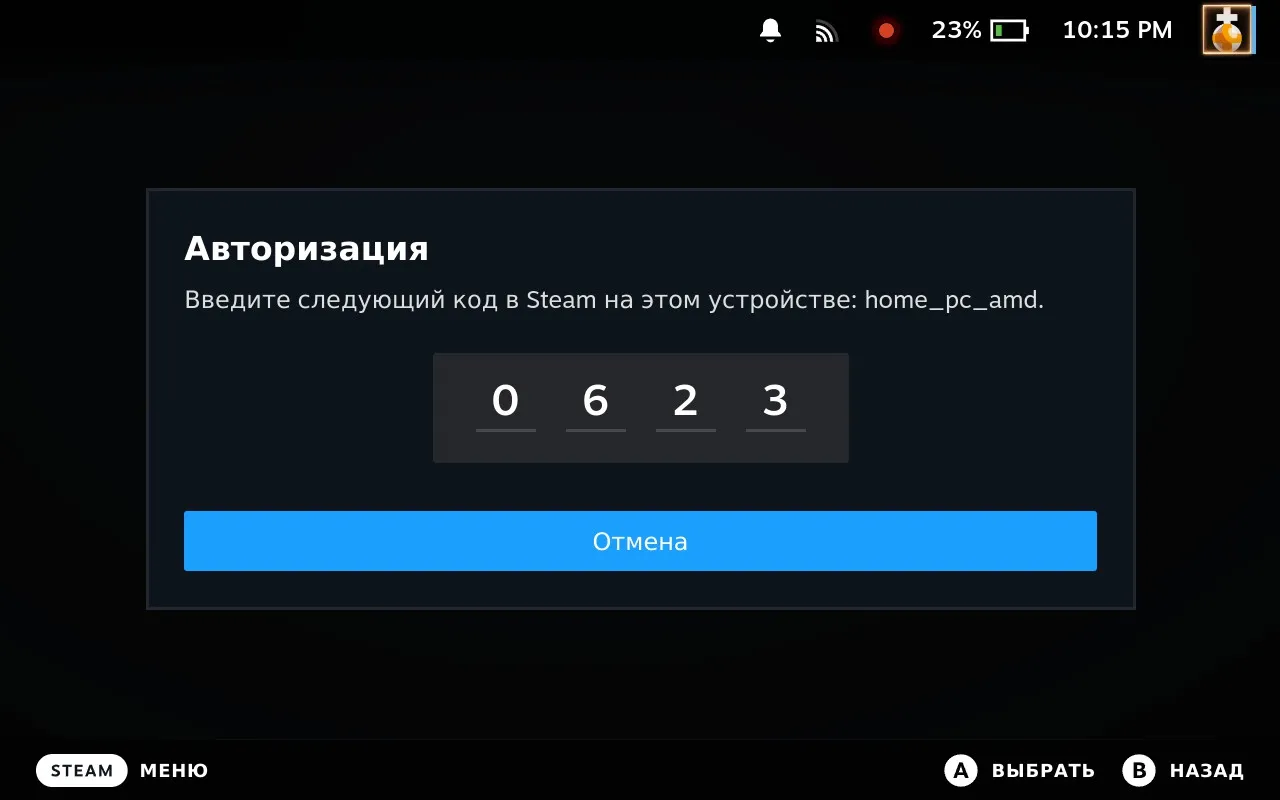
- This code will need to be entered on the PC to confirm the link.
- To do this, on the PC, go to Remote Play settings, click “Link Steam Link” and enter the code from the Steam Deck.
2. Checking and Configuring Streaming
- Download the necessary games on your PC.
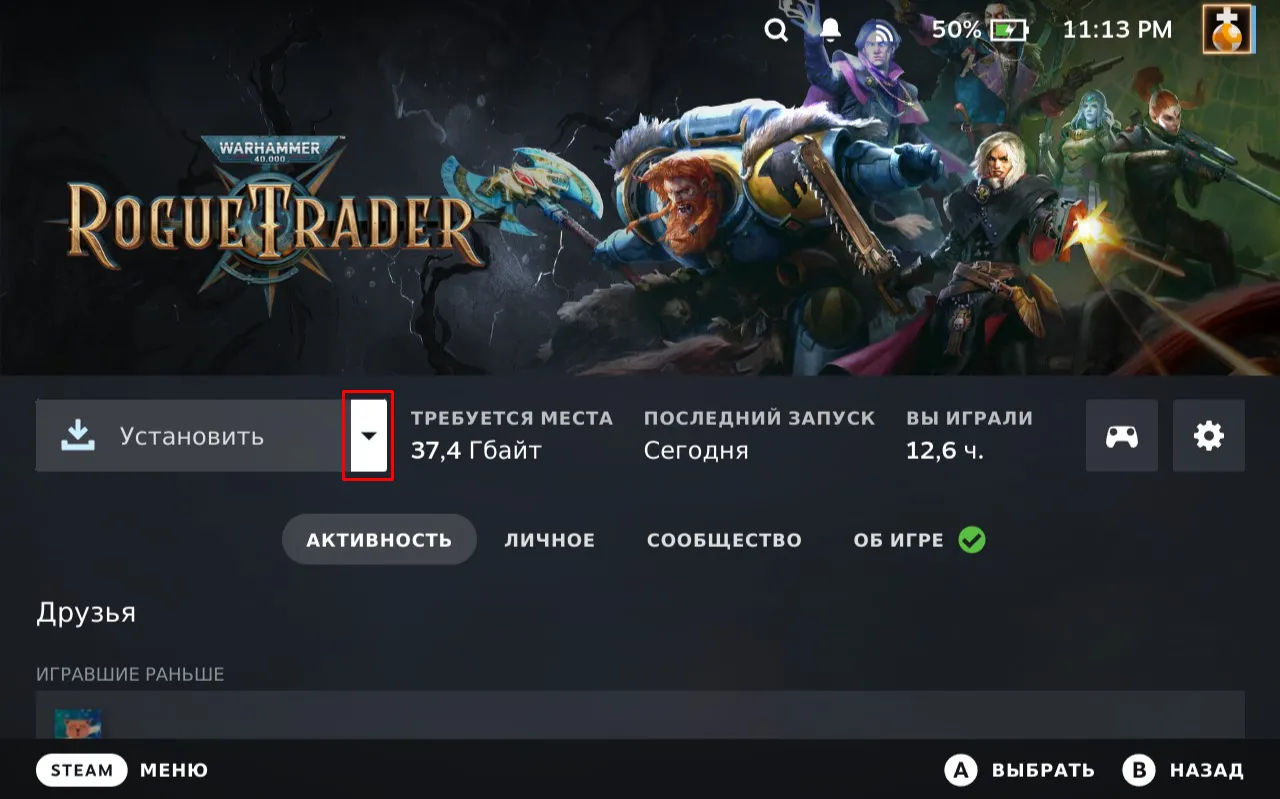
- On the Steam Deck, go to the game’s page, select the arrow to the right of the “Launch/Install” button, and select Stream from PC.
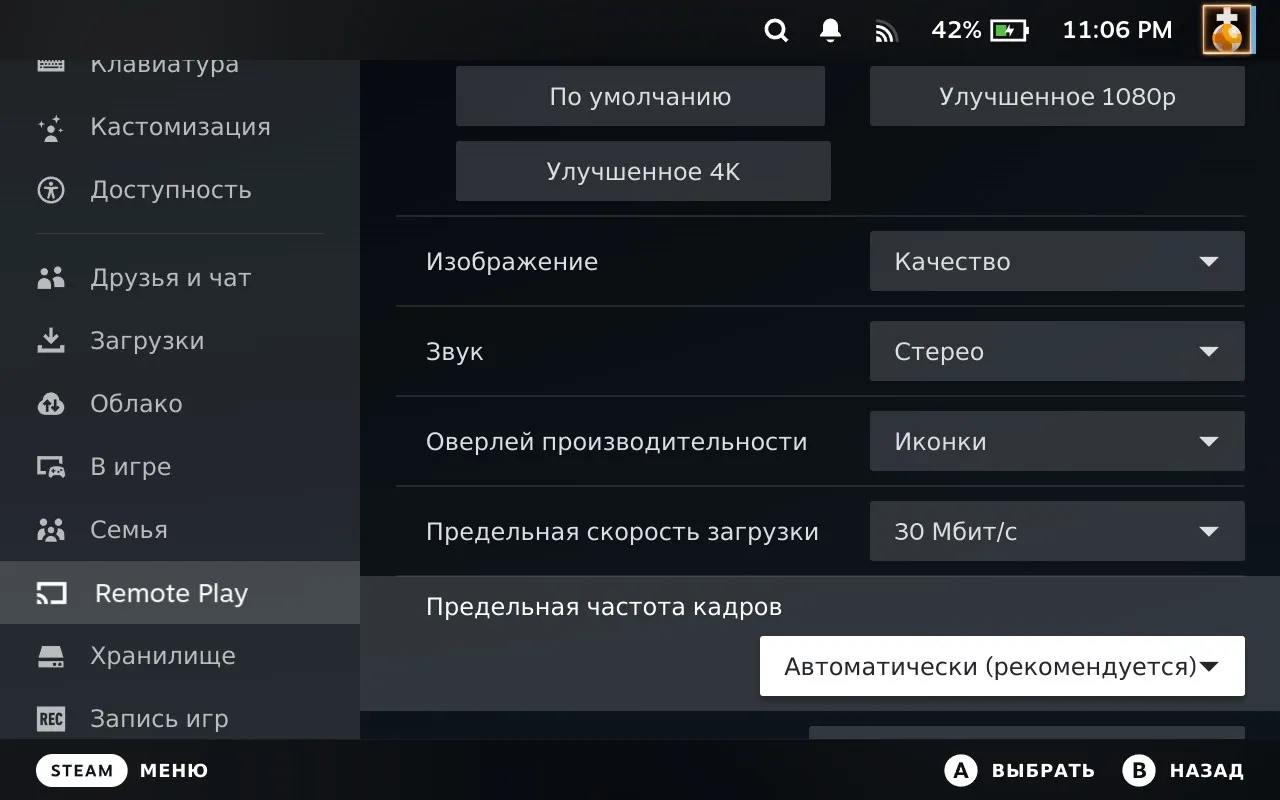
- Check that everything works, and select the optimal streaming quality for comfortable latency.
- It is recommended to play around with the Steam Deck settings for “Picture” and “Bandwidth Limit”.
3. Configuring the Lookupper Hotkey
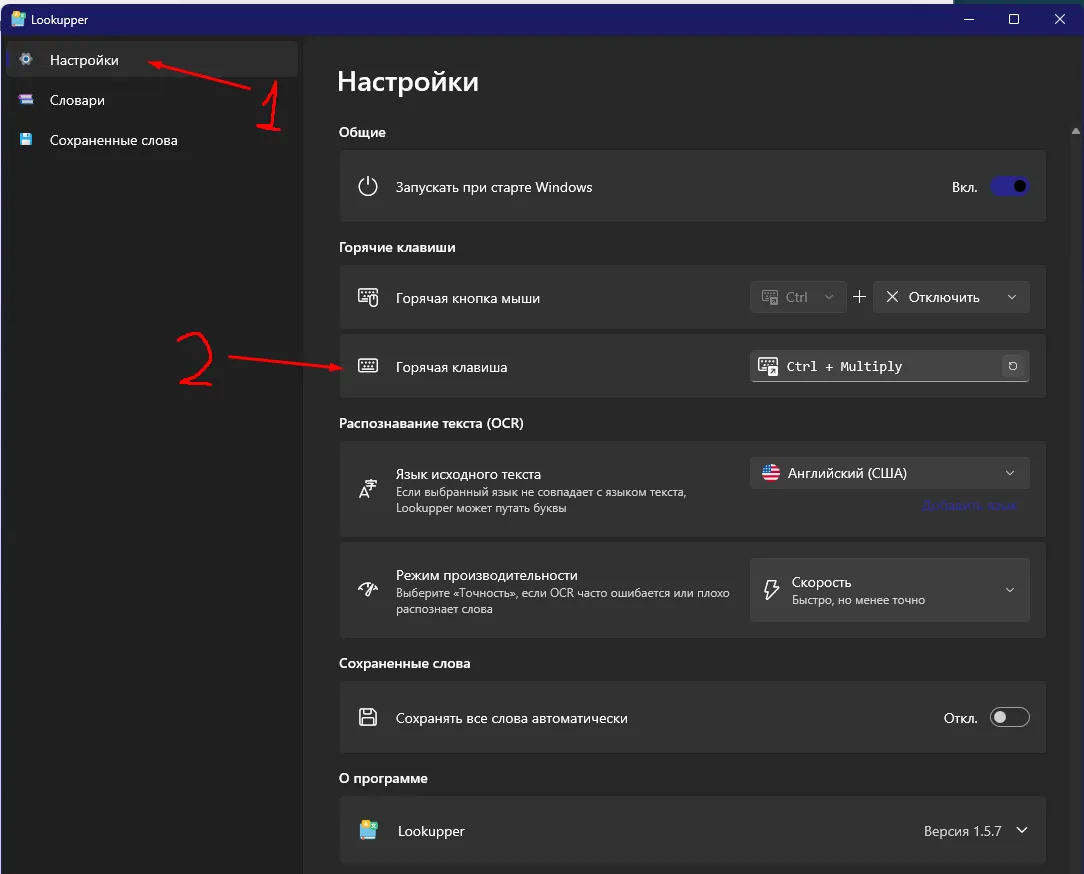
- Assign a hotkey for Lookupper on the PC. For example, Ctrl + * (on the numpad).
- In the game’s control layout settings on the Steam Deck, assign this combination to a button.
- It is most convenient to assign it to one of the back buttons (e.g., R5), and set the right trackpad as a mouse.

- Check in the game: hover the mouse over a word (using the trackpad) and press the bound button.
- It might “think” a little the first time, but then everything will work normally.
- If you have a monitor with a resolution higher than FHD (e.g., 1440p), the Lookupper text will be painfully small.
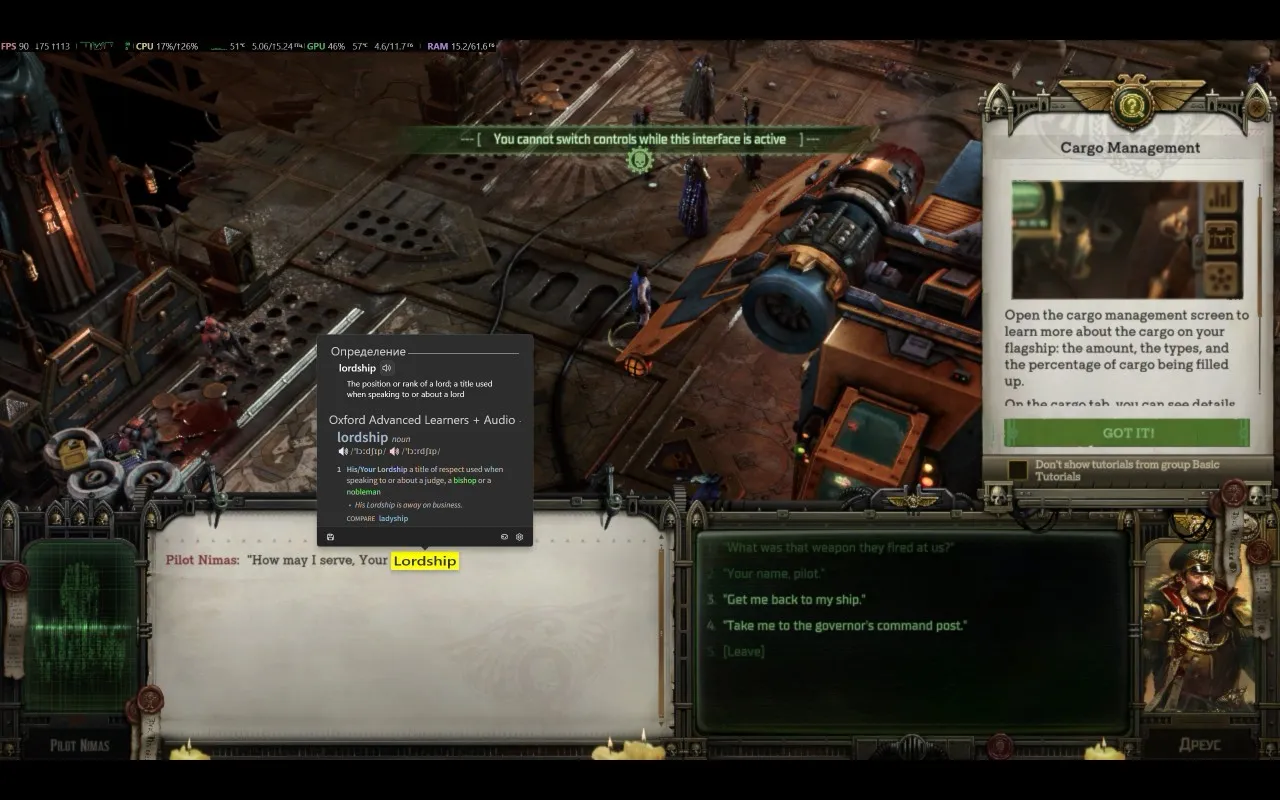
4. Solving the Resolution Problem
To make Lookupper readable, you will need to temporarily lower your PC’s screen resolution.
- Download QRes — this is an open-source program for changing monitor resolution (for example, from SourceForge).
- Add QRes.exe to Steam as a non-Steam application.
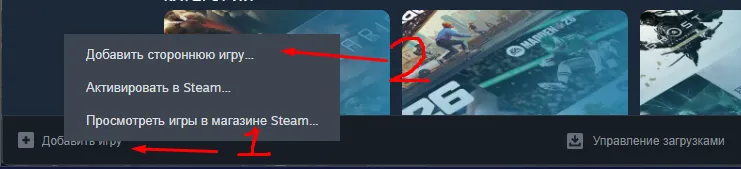 !(./lookupper-on-steamdeck/13.png)
 - Open the Properties of the added QRes shortcut. In the “Launch Options”, enter the arguments with the desired resolution in the format:
/x:{horizontal} /y:{vertical}.- IMPORTANT: The monitor must support this resolution. Use standard resolutions.
- Example for 800p:
/x:1280 /y:800!(./lookupper-on-steamdeck/14.png)
- Add QRes again (the shortcut is duplicated) for the option to return to native resolution, entering the native resolution in “Launch Options”.
- Example for 1440p:
/x:2560 /y:1440!(./lookupper-on-steamdeck/15.png)
- Example for 1440p:
- To launch these “games” from the Steam Deck, find them in the library via search.
- It is recommended to add them to “Favorites” to avoid searching every time.
- Before starting the game, launch the QRes shortcut with the lower resolution.
- When launching, the program will “think” for a bit (10-20 seconds the first time), the PC resolution will change, and the Steam Deck will show a black screen.
- This is normal, just close the “game” (QRes) using the STEAM button → Exit Game.
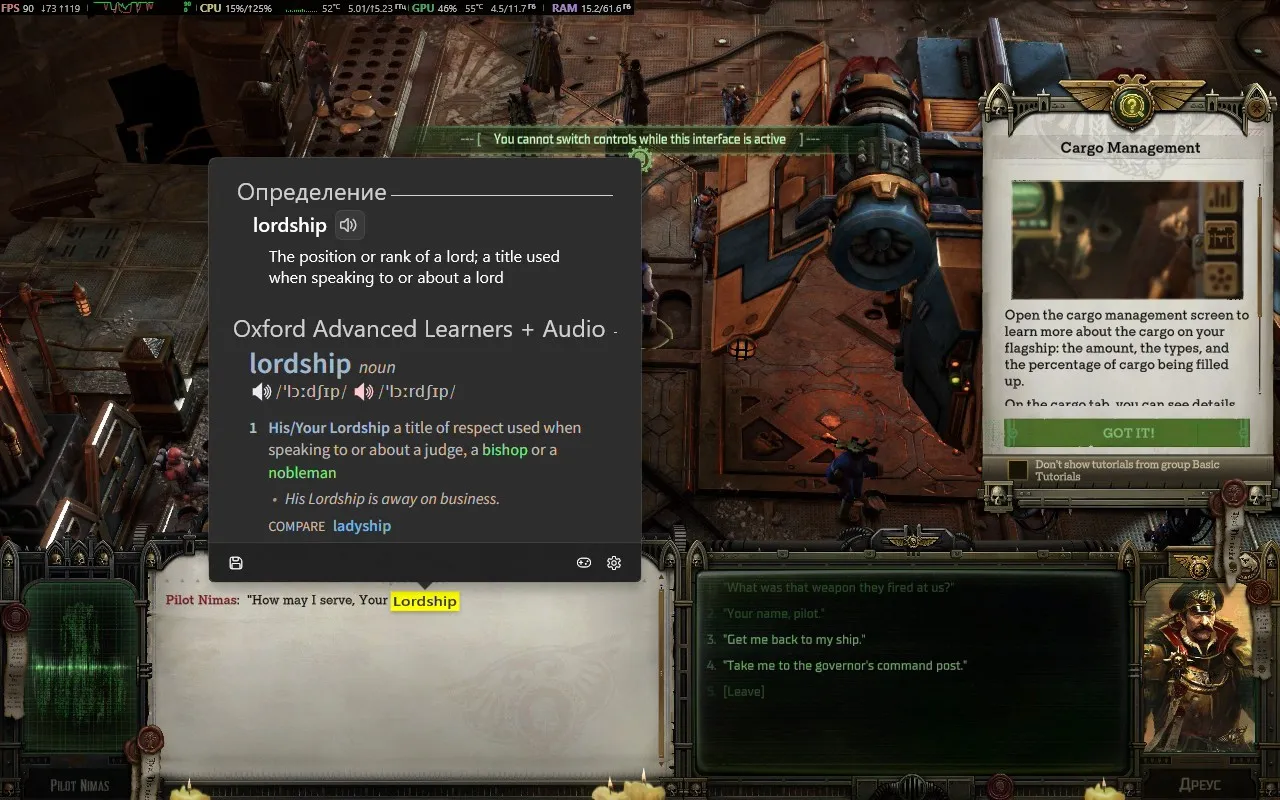
- Now launch the main game. Lookupper will be readable.
- After playing, don’t forget to launch the QRes shortcut with the native resolution to revert everything.